Watteam Powerbeat vermogensmeter voor slechts $499
Geplaatst: 08 aug 2014 02:12
Dit klinkt zeker goed. Al wacht ik zelf liever af op de reviews. Meer informatie hier: http://www.bikerumor.com/2014/08/07/new ... t-for-499/
Fiets - Race en MTB website voor wielrenners, sportieve fietsers, mountainbikers
https://www.fiets.nl/forum/
Om enigszins efficiënt met een vermogensmeter om te gaan, zal een niet-kenner in ieder geval moeten beseffen dat (net als bij het gebruik van een hartslagmeter) de trainingszones toch ook afhankelijk zijn van de vorm van de dag. Als je daar geen rekening mee houdt, bestaat dus nog altijd de kans dat je een bepaalde training niet in de beoogde trainingszone(s) aflegt. Lijkt mij, als niet-kenner.53x11 schreef:Tja, wat is "nodig". Van alle niet-echt-nodige fietsgerelateerde aanschaffen (licht frame, chique wielen, mooie groep, etc) is een vermogensmeter toch wel één van de meest nuttige. Je hoeft absoluut geen kenner te zijn (al ben ik dat beroepshalve zelf wel) om efficient met zo'n ding te trainen. Bovendien maakt een vermogensmeter het trainen een stuk leuker.
Link volledig artikel: http://www.dcrainmaker.com/2014/08/euro ... crank.html
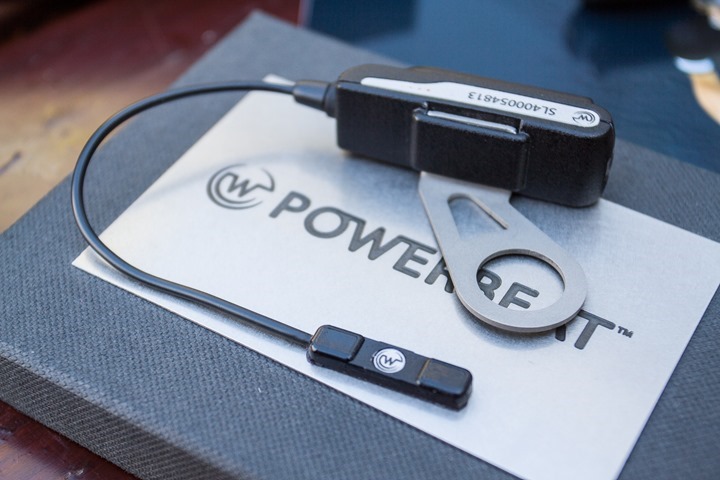
PowerBeat exploded onto the scene a few weeks back with announcement of a $499 fully left/right power meter that’s neither pedal nor crank-specific. It’s basically “just put it on a bike” specific. Of course, with such a claim there’s been a ton of skeptics (justified).
Much of that skepticism has been focused on the installation calibration aspects, which is where we spent the majority of the discussion time I had with them yesterday.
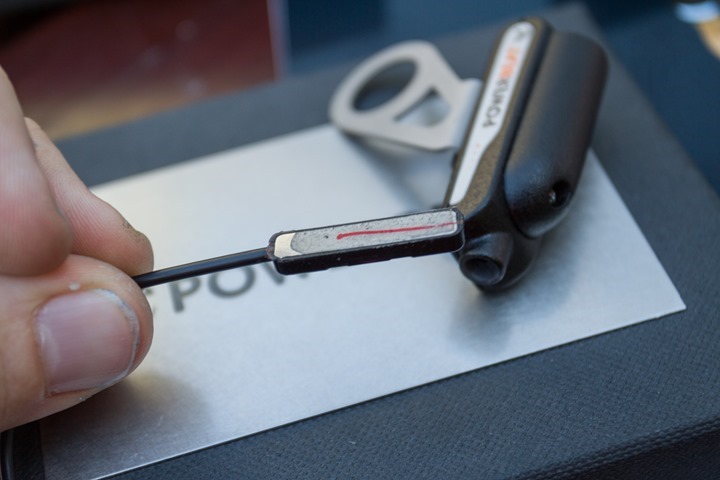
First, to install it you’re going to be taking the sensor and strain gauge portion that you see below with the red line on it, and attaching it to your crank arm. In doing so you’ll be breaking out Loctite glue to secure it to the crank arm. they went with Loctite due to being fairly well understood from a properties standpoint, as well as having a well established removal process too.
You’ll hold the sensor in position for 20 seconds onto the crank arm, at which point you’ll need to let it solidify for 24 hours.
After the 24 hours it’ll be time to calibrate it. To do so you’ll start by using a supplied weight. At present they’re planning on shipping what is effectively a water balloon with a fill-line on it. This will allow them to know a given weight based on the volume of the water you stick in. They’re aiming for 1-3KG of weight (they haven’t quite yet decided the exact number). You’ll attach the ‘weight’ to the crank arm while the crank arm is horizontal.
It’s at this specific juncture where most of the interwebs has the most skepticism. The company claims that they are able to know the dynamics of the crank arm merely by measuring the force applied while the weight is hanging. They noted that each and every crank arm reacts slightly differently (carbon and aluminum), but they believe they are able to accurately determine a calibration value based on just a single weight test.
This is different than virtually every other company on the market where they do some form of factory calibration of the portion where the strain gauge is attached to (be it hub, spider, arm, etc…). In doing so many of them also determine calibration points across a range of temperatures. Said differently, they have a crapload of ‘understood torque values’ for a given material.
In any event, then using your supplied phone app it’ll go ahead and determine the calibration value and set it for the unit (all via Bluetooth Smart). Subsequent communication with your head unit would be using standard protocols over ANT+ or Bluetooth Smart. The application can store multiple bike profiles, and thus multiple calibration points.
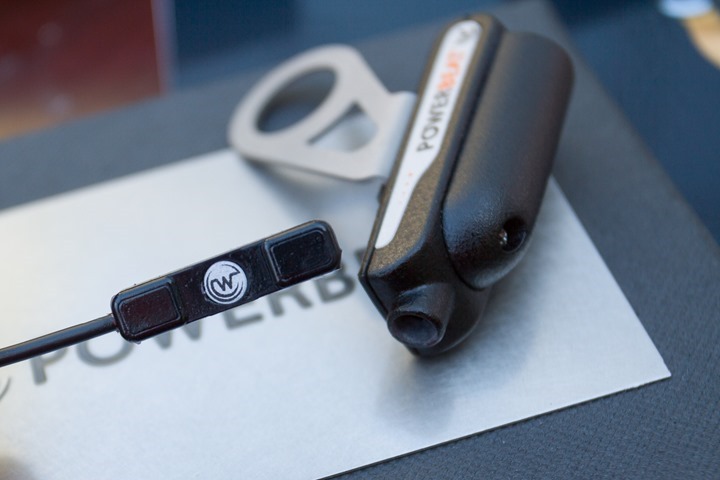
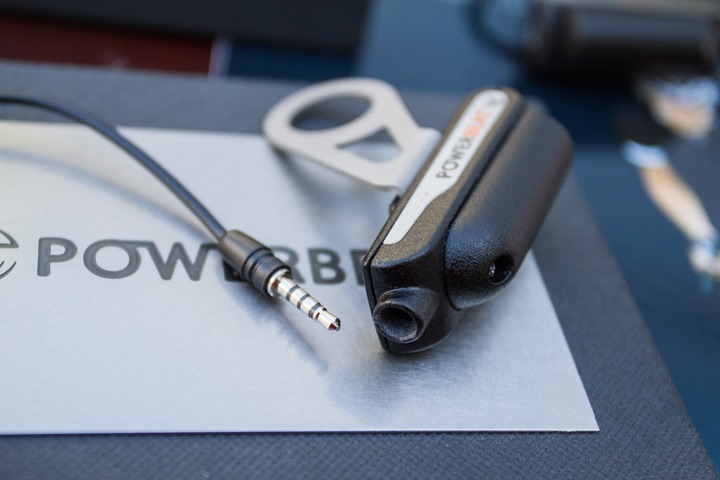
Speaking of bike profiles, one part that’s wasn’t crystal clear earlier was how exactly the portability portion worked. However, once in hand it became very clear. The unit allows you to simply separate the sensor from the pod using what is similar to a headphone plug (though, it is different). This means you can easily install/leave on your other bikes the other sensor portions, and then just move the pod piece that secures to your pedal (I discuss that in more detail on my other post).
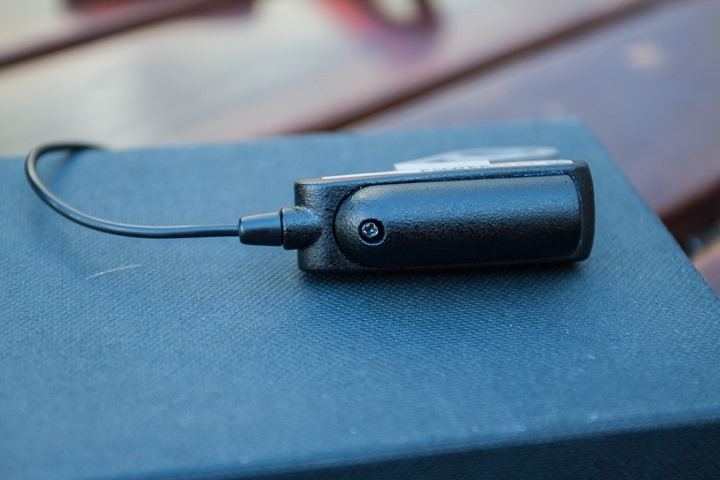
Do note that what you see above isn’t a final production unit, so it’s not quite as sharp/crisp in terms of material finish, etc… That’s the normal for most of the prototypes I see.
Last but not least, a minor correction on battery. The unit doesn’t use a coin cell battery, but rather a half-AA battery. The battery can be accessed via the tiny screw seen below, and should last about 300 hours.
In general, I think those that are skeptical should focus on the technology aspects rather than price. Treat it like a blind study and evaluate first on whether a concept is technically feasible, then cross reference that against a price and see if it hits near reality.
As I said to them in person, my main sticking point is centered around calibration and different materials that crank arms have and how those materials react differently. As I talk to more very smart 3rd party people in the power meter industry familiar and speculating with/about that they are doing I am not concerned about strain gauge placement, or even that much about user installation. It’s become clear to me in the last three days that doesn’t appear to be an issue. The core speculation point is centered at this point purely on calibration and accuracy of that calibration method.
In an effort to better understand said process and get a rough idea of where they stand against their Spring/Summer 2015 timelines, we had initially planned for me to be on a bike at Eurobike. Unfortunately, due to some logistical changes that didn’t quite work out. Fear not, short of their shipping container (or my bike) not making it to Interbike, that’ll happen there in just over a week. Stay tuned!